Teach your board which way is up.
Read a real IMU on STM32 or ESP32, calibrate it, and write the filters that turn noisy data into steady roll, pitch and yaw. Step by step, with every line of code.
Chapters 1–2 free · STM32 + ESP32 · code included
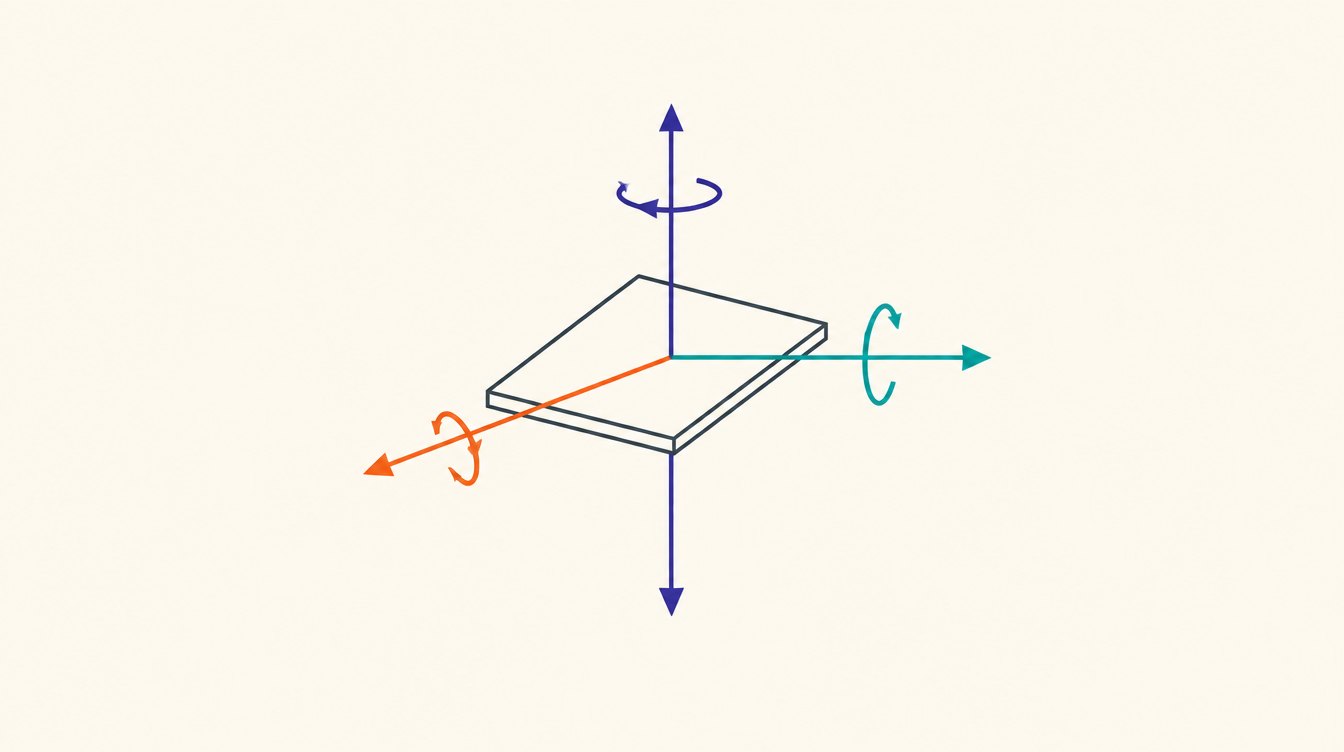
Five chapters, from first print to a steady angle
1Project setup, serial output & a fixed-rate loop free
Create the project, print numbers to the serial plotter and run your loop at an exact rate.
Project setup, serial output & a fixed-rate loop free
Create the project, print numbers to the serial plotter and run your loop at an exact rate.
2The IMU sensor: I2C and the first register read free
Talk to your IMU over I2C and turn raw counts into g and degrees per second.
The IMU sensor: I2C and the first register read free
Talk to your IMU over I2C and turn raw counts into g and degrees per second.
3The magnetometer members
Read the LIS2MDL magnetometer next to the IMU, so the board can find north.
The magnetometer members
Read the LIS2MDL magnetometer next to the IMU, so the board can find north.
- 3.1What is a magnetometer?
- 3.2STM32: the LIS2MDL driversoon
- 3.3Fusing data: 9 values to the plottersoon
Calibration coming soon
Measure and remove each sensor's offsets and scale errors, so you can trust the numbers.
Sensor fusion: filters coming soon
Combine all three sensors into roll, pitch and yaw that are steady, fast and do not drift.
Read, do, check
Read
The idea in plain words.
Do
Numbered steps with screenshots and code to copy.
Check
What you should see, and fixes if you don't.
One board, one IMU, one compass
- Board
STM32 NUCLEO-F401RE or Arduino Nano ESP32
Pick one. Each lesson shows both.
- IMU
One of: ISM330DHCX (reference), LSM6DSOX, MPU-6050, MPU-9250, ICM-20948, ICM-42688-P
Accelerometer and gyroscope on one breakout.
- Compass
LIS2MDL magnetometer
Shares the I2C wires with the IMU. Used for the heading (yaw).
- Wiring
Breadboard, jumper wires and a USB cable
For your board.
- Software
Free tools
STM32CubeIDE, the Arduino IDE and our web serial plotter. Chapter 1 sets them up.
Check before you start
Good fit
You can write basic C (variables, if, loops, functions) and have flashed a board before. School math is enough: angles and a little trigonometry. Each new idea comes with a picture first, then the code.
Not yet
Never used an IDE? Start with chapter 1 anyway. It's free and sets everything up.
Stuck at 11 pm? Ask Steppe.
Steppe lives inside every lesson. It knows which lesson you are on, the code and the common mistakes, and answers in seconds, day or night.
- Knows the lesson you're on
- Explains errors and code, line by line
- Points you to the exact step or slide
- Can't solve it? You can write to me directly
Example answer. Steppe can make mistakes; the lesson has the final word.
Start free. Pay when you want the rest.
Free
$0
- Chapters 1–2: project setup, serial plotter, IMU over I2C
- All steps and code
Full course
$80 one-time, or 4 × $20 monthly
- Everything in Free
- Chapters 3–5: magnetometer, calibration, sensor fusion filters
- Members' lesson pages, and videos as they are released
- Ask questions in each lesson
- Steppe, your AI tutor, inside every lesson: ask about code or errors, day or night
14-day money-back guarantee, no questions asked.
Questions
Do I need both boards?
No. Pick one: the STM32 NUCLEO-F401RE or the Arduino Nano ESP32. Each lesson shows the steps for both.
My IMU is not the ISM330DHCX. Will it work?
Yes, if it is on the list in What you need. The code shows the I2C address and register values for each one.
What if I get stuck?
Each lesson ends with “What you should see” and the usual fixes. Members can also ask a question under any lesson.
How do I open the members' lessons after I pay?
Log in at steppeschool.com. Chapters 3–5 are there with all steps and code.
What if the course is not for me?
Write to us within 14 days and you get your money back. No questions asked.
Start with chapter 1 today. It's free.
Set up your board and see your first numbers in the plotter.